Builder Gel (BIAB) at Home: A Beginner’s Step-by-Step Guide
What builder gel (BIAB) is, who it’s for, and how to apply builder gel at home step by step — including the apex, curing, infills and safe removal.
As an Amazon Associate, Naillie earns from qualifying purchases. This does not change the price you pay. Learn more.
In this article 6
Builder gel — often called BIAB — is the manicure for people whose nails keep breaking. It adds a thin, strong layer that protects natural nails while they grow. Here’s how to do it at home.
In short: builder gel (BIAB) is a thicker, self-leveling gel that adds strength and shape to natural nails, unlike gel polish, which is mainly a thin color layer. At home, the beginner routine is: prep the nail gently, apply a thin base coat and cure it, add a thin slip layer, place a small bead of builder gel to build a slight apex, cure it fully, shape it smooth, then add color and top coat if you want it. Work one hand at a time, keep gel off the skin, and follow your product and lamp instructions for curing.
Builder gel vs gel polish
| Gel polish | Builder gel | |
|---|---|---|
| Thickness | Thin | Thicker, self-leveling |
| Purpose | Color | Strength and shape |
| Wear | 2–3 weeks | 3–4 weeks |
| Maintenance | Full removal | Infill possible |
The difference is easier to understand if you think about what each product is meant to do. Gel polish is designed to give color and shine to a nail that already has enough strength on its own. It goes on in thin layers, cures quickly, and looks best when the natural nail underneath is already fairly strong. Builder gel is designed to change how the nail behaves: it is thicker, it levels itself out as it settles, and it creates a supportive layer that helps a bendy or peeling nail hold its shape instead of flexing and breaking at the tip.
That difference also explains why maintenance is different. With gel polish, you usually remove the whole manicure when it grows out or starts to chip. With builder gel, you can often keep the existing structure and simply infill the regrowth near the cuticle, filing the old layer down and rebuilding over it. That can mean less soaking and less filing of the natural nail over time, as long as the infill is done carefully and the old product is not filed down into the natural nail.
Builder gel is not the same as an extension system. It is mainly used on the natural nail, to add strength and a small amount of natural-looking length or shape, rather than to create long sculpted extensions. If you want a lot of extra length, a different system, such as tips or forms with a harder gel or acrylic, is usually more suitable, and that is a bigger step for a beginner. For most beginners, builder gel is a good middle ground: stronger than gel polish, but still a natural-nail manicure you can learn at home with practice.
Who it’s for
- Bendy or peeling nails that won’t grow.
- People who want natural-looking length without extensions.
- Anyone whose gel polish keeps breaking at the tips.
Builder Gel in a Bottle
Brush-on builder gel that adds strength and structure to natural nails — the at-home take on BIAB.
- Strengthens nails
- Self-leveling
- Brush-on
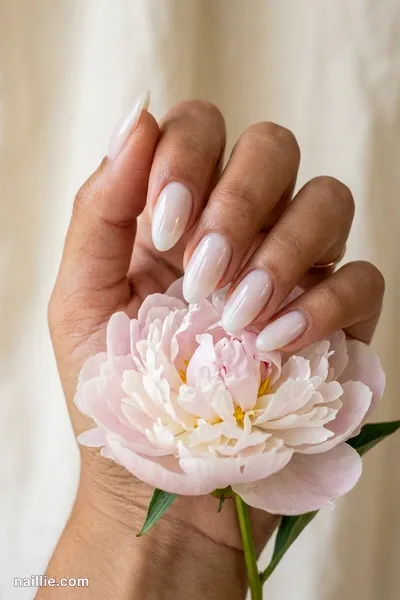
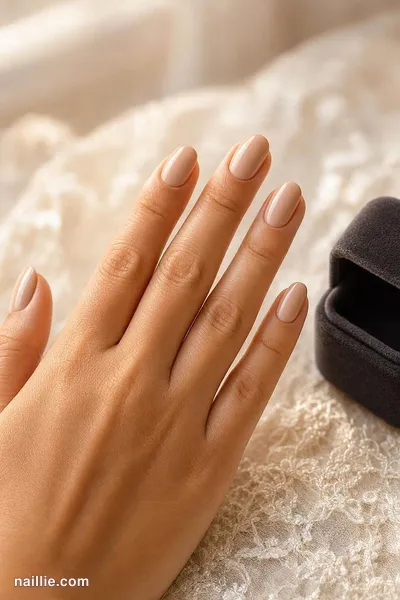
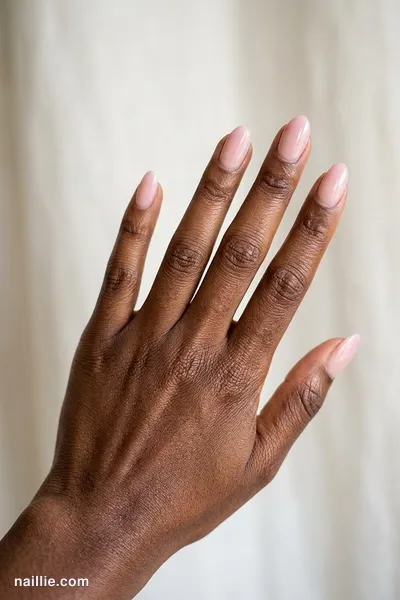
Builder gel suits people whose main problem is not color, but breakage. If your nails bend easily, peel in thin layers, or snap at the sides before they reach the length you want, a supportive layer can help them grow past the point where they usually break. It also suits people who like the look of a natural nail, rather than an obvious extension, because builder gel can be worn sheer, milky, or pink, or covered with a gel color, without looking thick or artificial when it is applied thinly.
It is also a practical choice if gel polish alone does not last on you. Gel polish can chip or break at the free edge when the nail underneath flexes, especially if you use your hands a lot for typing, cleaning, or manual work. Builder gel adds structure at the stress point, which is the area near the middle of the nail where bending forces concentrate, so the manicure is less likely to crack at the tip. It will not make nails unbreakable, and it will not fix damage caused by peeling product off, but for many people it is the step that lets natural nails finally grow.
Builder gel is not the right starting point for everyone. If your nails are already strong and you only want color, gel polish is simpler and faster. If you have broken, infected, painful, or lifting nails, or skin that is red or swollen around the nail, skip a builder gel manicure until the nail and skin have settled, and seek professional advice if the problem does not improve. Beginners should also start with their natural length, rather than trying to add a lot of length at the same time, since a shorter, well-shaped builder gel manicure is easier to apply, cure, and maintain.
What you need
- Builder gel (bottle or pot) and a base coat
- Gel color (optional) and a top coat
- File, buffer, alcohol and cuticle pusher
- An LED lamp — a good one matters here; see how to choose a UV LED nail lamp
A bottle builder gel, with a brush built into the cap, is usually the easiest format for a beginner, because you can control the amount and apply it much like a thick gel polish. A pot builder gel, applied with a separate brush, gives more control over the amount and placement once you are used to it, but it takes a little more practice to pick up the right size bead and spread it evenly. Whichever format you choose, use the base coat, builder gel, and top coat system as intended, since different brands can cure differently, and mixing systems can lead to lifting or under-curing.
Your lamp matters more with builder gel than with a thin gel polish, because builder gel is thicker and needs to cure all the way through. Use a lamp that is suitable for the gel you are using, check that it cures all of the nail, including the thumbs, and follow the product instructions for curing rather than guessing a time. A lamp that is too weak, or nails placed at an angle where light does not reach the whole nail, can leave gel soft underneath, which leads to lifting, dents, and a manicure that does not last.
Set up a clean, well-lit workspace before you start. You will need a file and a buffer, a cuticle pusher, alcohol or a nail dehydrator for wiping the nail, lint-free wipes, and a small brush or orange stick for cleaning up gel that touches the skin before curing. Keep a towel or paper under your hands, work on one hand at a time, and give yourself enough time so you are not rushing the curing and shaping steps. Rushing is one of the most common reasons a first builder gel set looks bulky or lifts early.
Step-by-step application
- Prep: push back cuticles, remove cuticle film, buff away shine, dehydrate.
- Base coat: thin layer, cure.
- Slip layer: a very thin coat of builder gel, don’t cure yet.
- Bead: place a small bead of builder gel in the center of the nail and let it self-level.
- Build the apex: turn your hand upside down for a few seconds so the gel settles into a slight arch at the stress point, then flip back.
- Cure fully. Repeat if needed for more strength.
- Shape: file the sides and surface smooth.
- Color (optional) and top coat, curing each layer.
Prep is the step that determines whether builder gel lasts, so do not skip it. Start with clean, dry hands and nails, and push cuticles back gently, ideally after a warm shower or a short soak, when the skin is soft. Remove the thin, invisible film of cuticle skin from the nail plate, since gel will not bond well over it and lifting often starts there. Buff away shine lightly, just enough to remove the glossy surface, without thinning the nail. Then wipe the nail with alcohol or a dehydrator to remove oils and dust, and avoid touching the nail plate after this point, since oils from your fingers can interfere with adhesion.
Apply the base coat in a thin, even layer, keeping it off the skin and cuticle, and cure it fully. The slip layer is a very thin coat of builder gel applied over the cured base coat and left uncured, so the next bead can move and level smoothly over it. Place a small bead of builder gel in the center of the nail, a little behind the middle, and let it settle rather than spreading it forcefully to the edges. Use the brush to guide it gently toward the sides and the free edge, leaving a hairline gap at the cuticle and side walls, so no gel touches the skin.
To build the apex, turn your hand upside down for a few seconds, so gravity helps the gel settle into a slight arch at the stress point, then flip the hand back and check the shape before curing. The apex should be a gentle, smooth arch, not a thick bump. If the gel has flooded the cuticle or side walls, clean it up before curing, since cured gel on the skin is hard to remove and can cause lifting. Cure the layer fully, following your product and lamp instructions, and add a second thin builder layer only if you need more strength, curing each layer separately rather than applying one very thick layer.
After curing, the builder layer will usually have a slightly tacky or uneven surface, which is normal. File the sides and surface smooth with a gentle file, checking the shape from the side and from the fingertip, not just from the top. Aim for a smooth, even surface with no thick edges, no thin spots at the sides, and a free edge that is not too thick. Then wipe away dust, apply gel color if you want it, curing each thin coat, and finish with a top coat, curing it fully. Cap the free edge with color and top coat, and finish with cuticle oil around the nail, not on the uncured gel, once the manicure is complete.
Infills vs removal
After 3–4 weeks, file down most of the builder gel, leaving a thin layer, then rebuild over the regrowth. This “infill” avoids soaking the nail in acetone every time. When you want to go bare, file down and soak off like gel — see how to remove gel polish at home.
An infill is worth doing when the builder gel is still well attached, but the regrowth near the cuticle has become noticeable. Start by filing the old builder layer down evenly, leaving a thin, smooth layer over the natural nail, rather than filing all the way down to the natural nail. This protects the nail underneath and gives the new builder layer something to bond to. Then prep the regrowth area in the same way as a new set: push back the cuticle gently, remove cuticle film, buff lightly, and dehydrate, before applying a new base and builder layer over the whole nail and curing it fully.
Be careful during infills not to file into the natural nail, especially near the cuticle where the new growth is thinnest. Use a light touch, check your work often, and stop if you see the natural nail showing through the old builder layer. If a nail has lifted, cracked, or become painful, do not infill over it; remove that nail properly and let it recover, rather than sealing a problem underneath a new layer.
When you want to go bare, removal should be gentle. File down the top coat and most of the builder layer, then soak the remaining product off with acetone, following the same careful method used for gel polish: file off the shiny surface, soak with foil or clips, and slide the softened product off gently, rather than peeling or prying it. After removal, wash your hands, apply cuticle oil, and give nails a short break with oil and a strengthener if they feel dry or thin, before starting a new builder set.
Common beginner mistakes
- Too thick → heavy, bulky nails.
- Gel on the skin → lifting (see gel polish peeling).
- No apex → weak stress point, breaks at the side.
- Filing into the natural nail during infills.
Too thick is the most common beginner mistake, and it is easy to spot: nails look bulky, feel heavy, and can still break at the sides because the shape is uneven. A thin, even builder layer with a gentle apex is stronger than a thick, lumpy one. If your first set looks thick, file it down carefully after curing, or remove it and try again with a smaller bead and a second thin layer, rather than adding more product on top.
Gel on the skin is the most common cause of lifting. Gel that touches the cuticle or side walls lifts as the skin moves, and it can also irritate sensitive skin. Keep a hairline gap at the cuticle, clean up any gel that touches skin before curing, and check each nail in good light before you put your hand in the lamp. If you notice gel on the skin after curing, file it away gently and do not try to peel it off.
A missing apex is a shape problem, not just a cosmetic one. Without a slight arch at the stress point, the nail has no reinforcement where it bends most, so it is more likely to crack at the side. Turning the hand upside down for a few seconds helps the gel settle into that arch, but do not overdo it: a very high apex looks unnatural and adds bulk. Aim for a smooth, gradual arch that follows the natural curve of the nail.
Safety also matters. If you feel a burning sensation during curing, take your hand out of the lamp, let the nail cool, and cure in shorter intervals if your lamp allows it, rather than continuing through pain. Stop and remove the product gently if you develop redness, itching, swelling, or pain around the nail, and seek professional advice if it does not settle. Avoid applying builder gel to broken, infected, or lifting nails, keep gel off the skin, and do not use nails as tools to open packages or scrape surfaces, since that can crack even a well-applied builder layer.
Builder gel is a great partner to a good nail care routine: with daily cuticle oil, many people grow their longest natural nails ever.
Frequently asked questions
What is the difference between builder gel and gel polish?
Builder gel is thicker and self-leveling. It adds structure and strength to the nail, while gel polish is a thin color layer. Builder gel can also be infilled instead of fully removed. In practice, that means gel polish is best when your nails are already strong and you mainly want color, while builder gel is better when bendy, peeling, or breaking nails need support to grow. Builder gel is applied in a thicker layer with a slight apex for strength, and it can be worn sheer or under a gel color.
Is builder gel good for weak nails?
Yes. Builder gel adds a strong but flexible layer that protects weak, bendy nails while they grow. It helps the nail hold its shape instead of flexing and breaking at the tips, which gives the natural nail time to grow past its usual breaking point. It works best with gentle prep, thin layers, full curing, and daily cuticle oil, and it should not be applied to broken, infected, or painful nails. If nails are very thin or damaged, keep the set short and natural-looking first.
How long does builder gel last?
Usually three to four weeks, after which it is infilled at the cuticle or removed. How long it lasts depends on nail growth, how much you use your hands, and how carefully it was applied, especially prep, keeping gel off the skin, and curing it fully. When regrowth becomes noticeable, file the old layer down to a thin, smooth layer and rebuild over it for an infill, rather than peeling it off. When you want to go bare, file it down and soak it off gently, like gel polish.