15 Easy Nail Art Designs for Beginners (No Special Tools)
Easy nail art for beginners using things you already own — bobby pins, tape, toothpicks — from polka dots and French tips to hearts, swirls and negative space.
As an Amazon Associate, Naillie earns from qualifying purchases. This does not change the price you pay. Learn more.
In this article 7
You don’t need a steady hand or a drawer full of tools to do cute nail art. These 15 designs use things you already have at home — and they look great on short nails.
Your “no tools” tool kit
- Bobby pin / toothpick → dotting tool
- Scotch or washi tape → stripes and French tips
- Makeup sponge → gradients
- Old eyeliner brush → thin lines
Dots & patterns
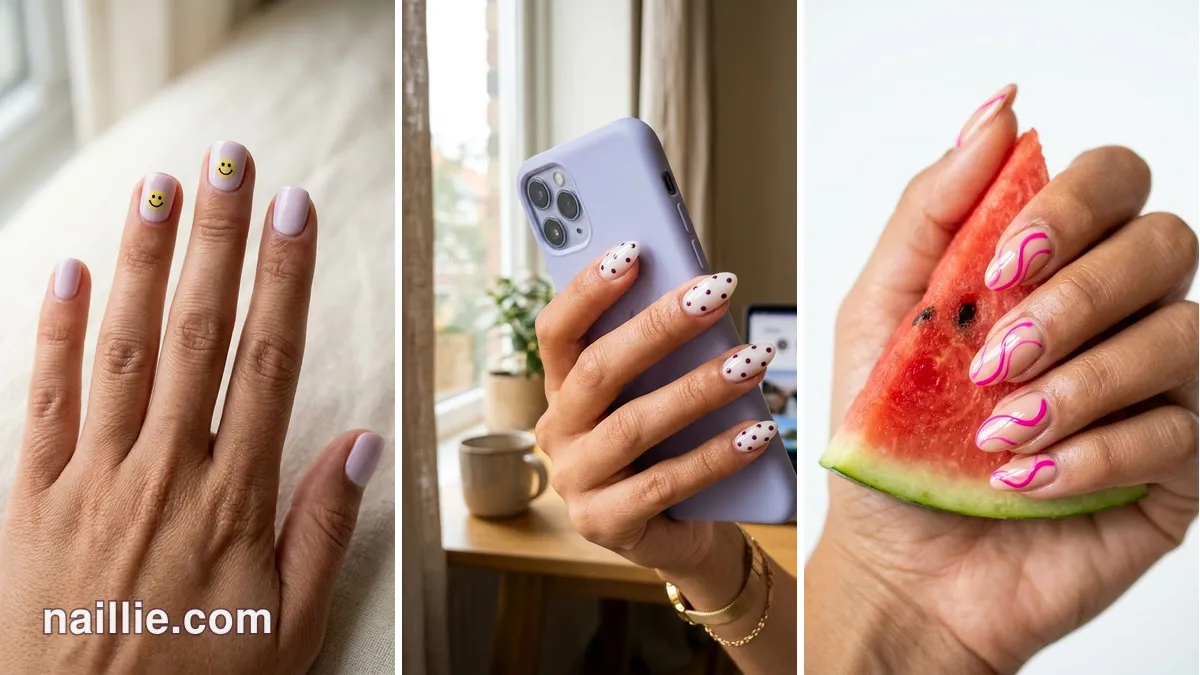
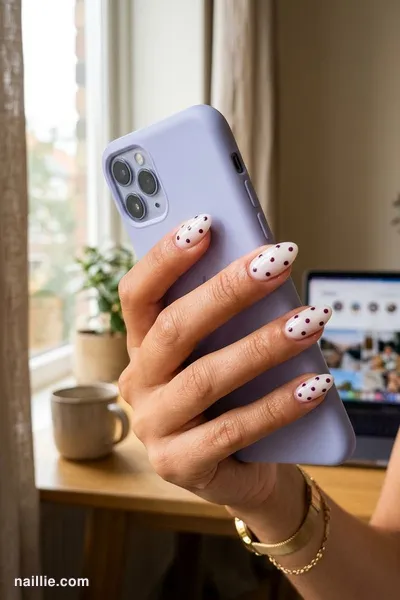
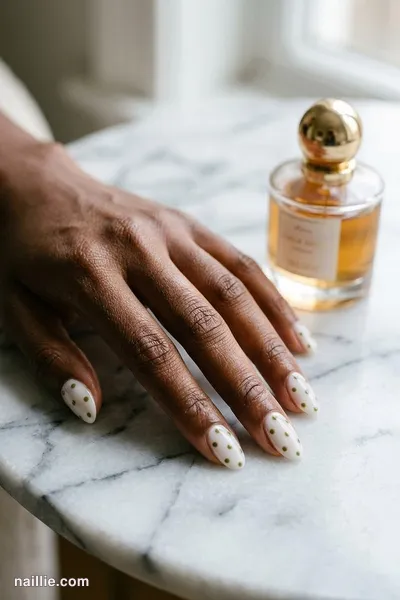
- Polka dots — dip a bobby pin in polish and dot evenly across the nail.
- Dotted French — a row of small dots along the tip.
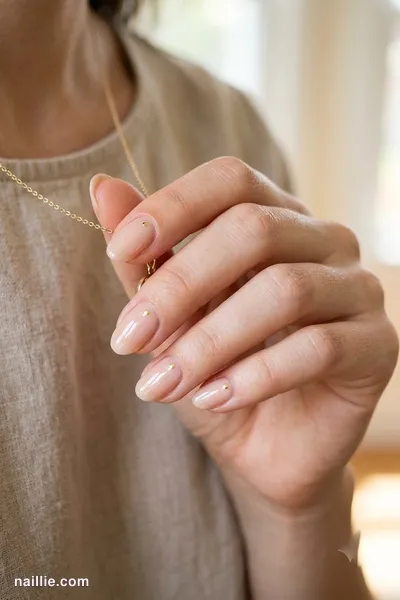
- Cuticle dots — one dot at the base of each nail. Minimal and chic.
- Ladybugs — red half-nail, black dots. Unexpectedly cute.
- Dot flowers — five dots in a circle with a contrasting center.
Taped designs
- Striped tips — tape across the nail, paint the tip, peel while wet.
- Color blocking — tape diagonally and paint two halves.
- Negative space — leave part of the nail bare with tape.
- Skinny stripe — one vertical line in gold or white.
Freehand-easy
- Hearts — two dots close together, pulled into a point.
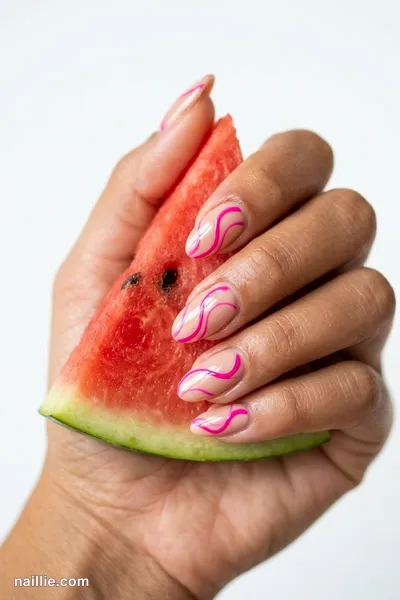
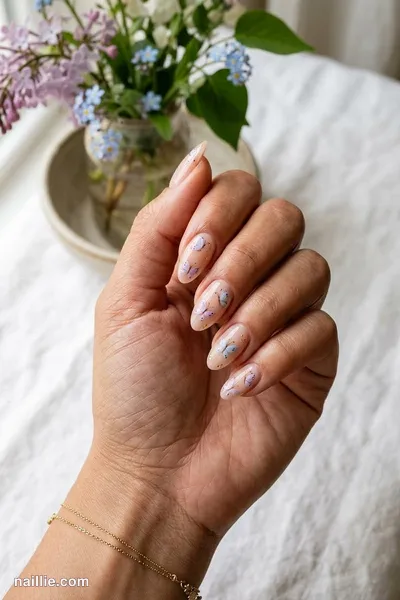
- Swirls — thin wavy lines in two colors (mistakes look intentional!).
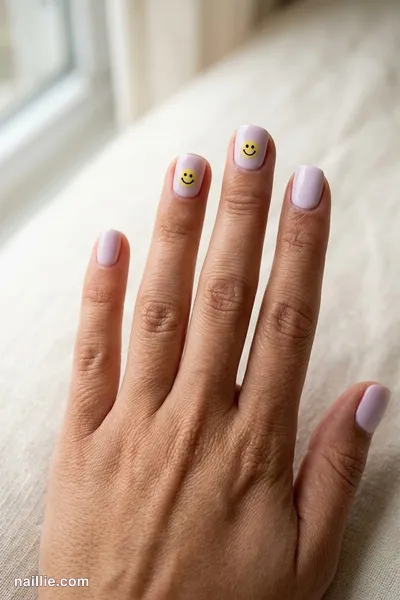
- Smileys — yellow circle, two dots, a curve.
- Accent glitter — one glitter nail per hand.
Sponge & texture
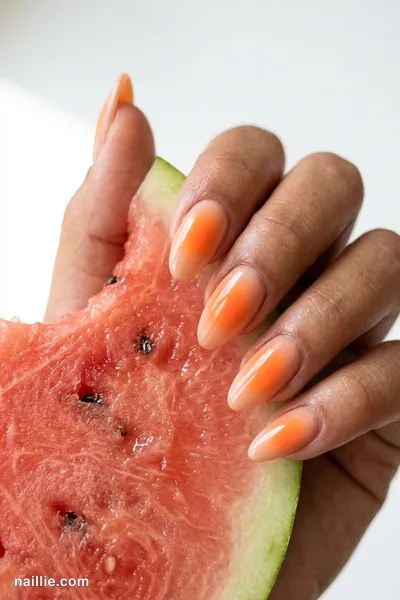
- Gradient ombré — paint two colors side by side on a sponge and dab.
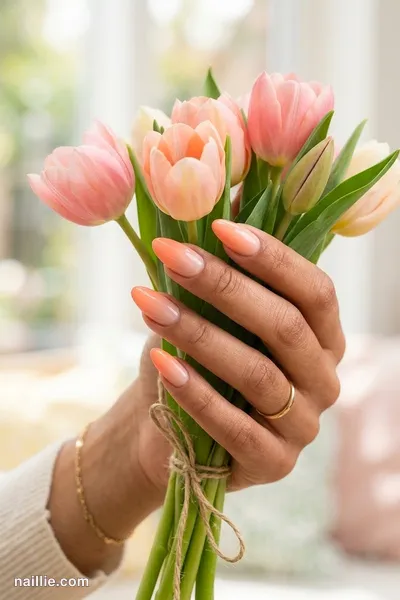
- Matte + glossy — matte base with glossy dots on top.
When you’re ready to level up
A basic brush and dotting set makes everything faster and neater, and stickers or stamping kits open up detailed designs with zero drawing skills.
Nail Art Brush & Dotting Tool Set
Liner brushes and dotting tools for French tips, swirls, dots and florals.
- Fine liners
- Dotting tools
- Great value
Maniology Nail Stamping Kit
Detailed nail art in seconds — even if you can't draw a straight line.
- Detailed designs
- Beginner friendly
- Reusable plates
Beginner tips
- Always paint art on a dry base.
- Use thin polish for details — thick polish blobs.
- Clean up with a small brush dipped in remover.
- Seal gently with top coat — drag lightly so you don’t smear the art.
Short on ideas? Spin our Nail Idea Generator for a random color and finish combination, or copy a design from our French tip nail ideas.
Keep reading: How to Make Nail Polish Dry Faster: 8 Tricks That Actually Work · How to Do Chrome Nails at Home (Glazed Donut Tutorial) · How to Remove Gel Polish at Home (Without Damaging Your Nails)
Frequently asked questions
What is the easiest nail art for beginners?
Polka dots made with a bobby pin or toothpick, tape-guided stripes and simple accent nails are the easiest designs for beginners.
What can I use instead of a dotting tool?
The round end of a bobby pin, a toothpick, the tip of a pen or a pencil eraser all work as dotting tools.
How do I keep nail art from smudging?
Let the base color dry completely, use thin layers for the design, and seal with a quick-dry top coat applied with a light touch.